Navi Mobile User Guide
The mobile interface provides a simple, intuitive interface that supports familiar gestures such as tap, pinch and swipe. Key system information and controls are presented clearly, allowing homeowners to navigate and adjust their AC settings with ease. Register as a new Navi mobile user to make use of these functions on your mobile phone.
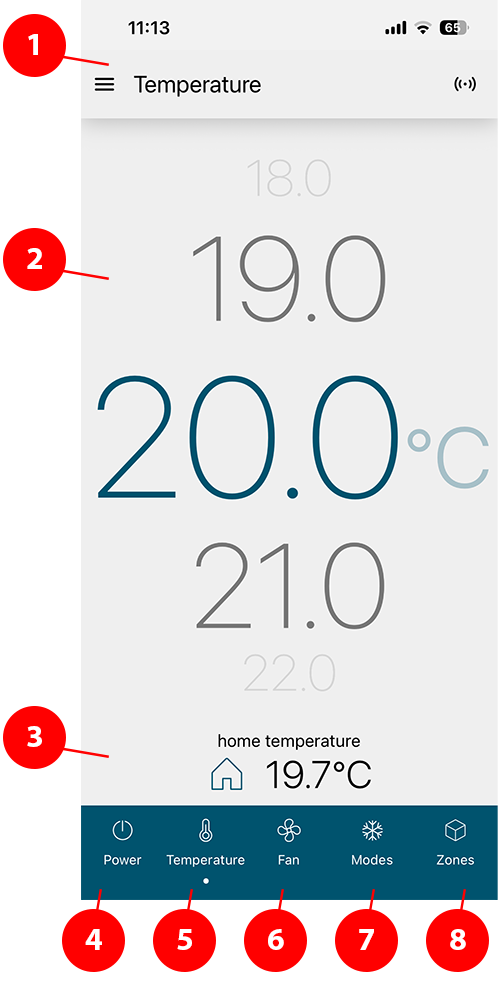
(1) Menu
The hamburger menu provides quick access to all navigation options and settings within the Navi mobile interface.
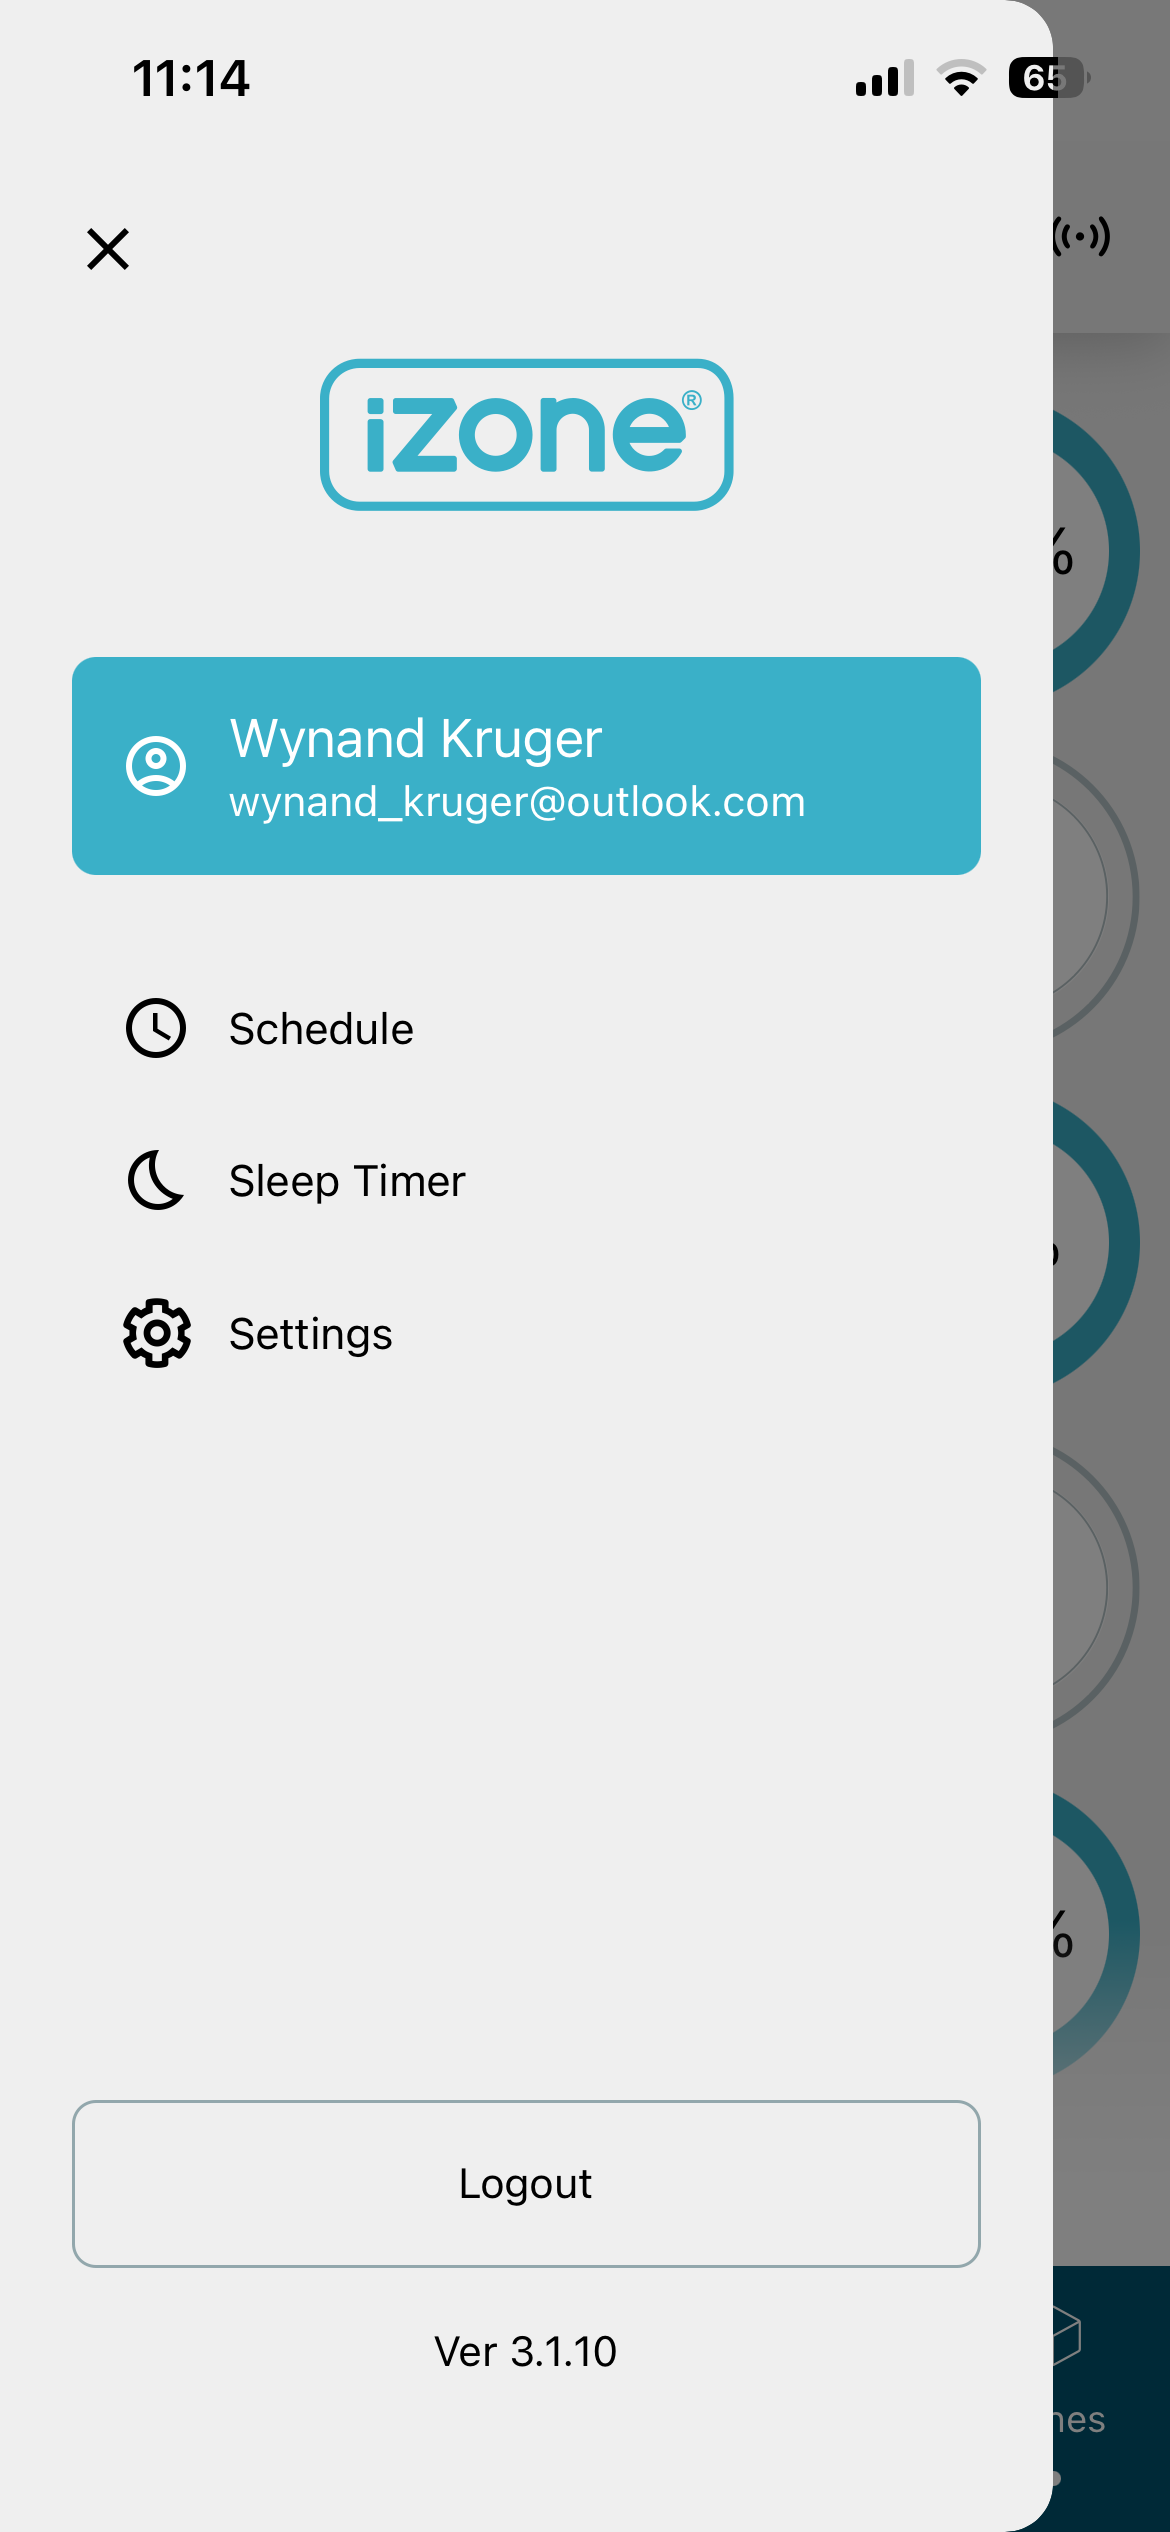
User information
Information about the user who is currently logged in.
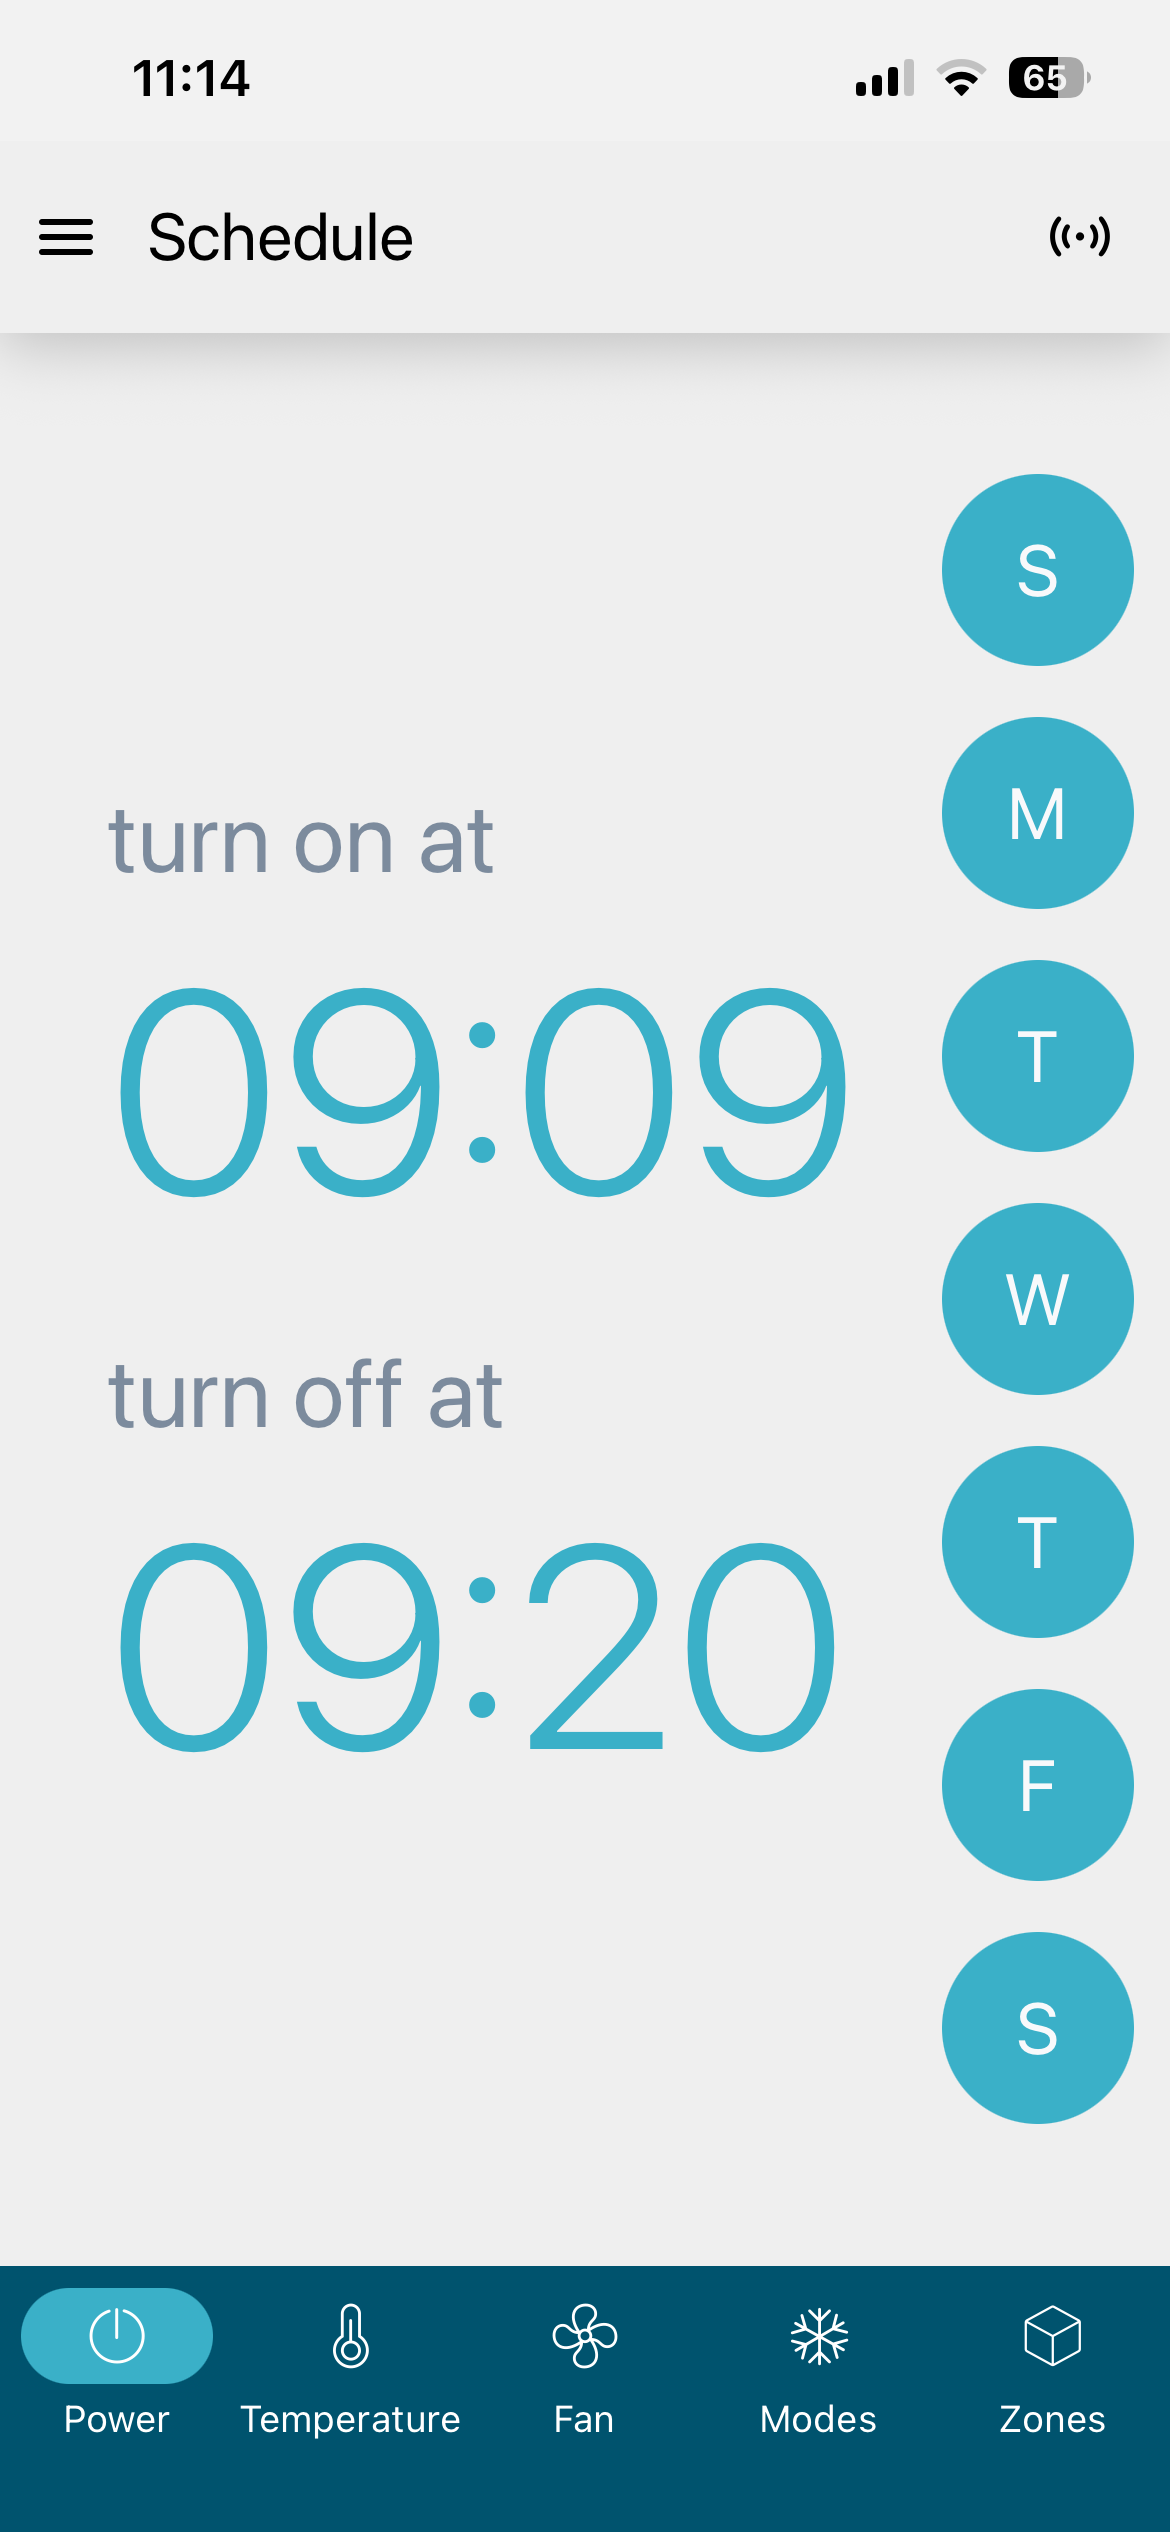
Schedule
Create a schedule to turn the AC unit on or off at a specific time. A user can set an On Time, an Off Time, or both. To enable a schedule, select at least one of the workday buttons on the right. To disable a schedule, simply deselect all workday buttons.
When a schedule turns the AC unit on, the system will start using the current AC mode, fan speed, set point and zone selections.
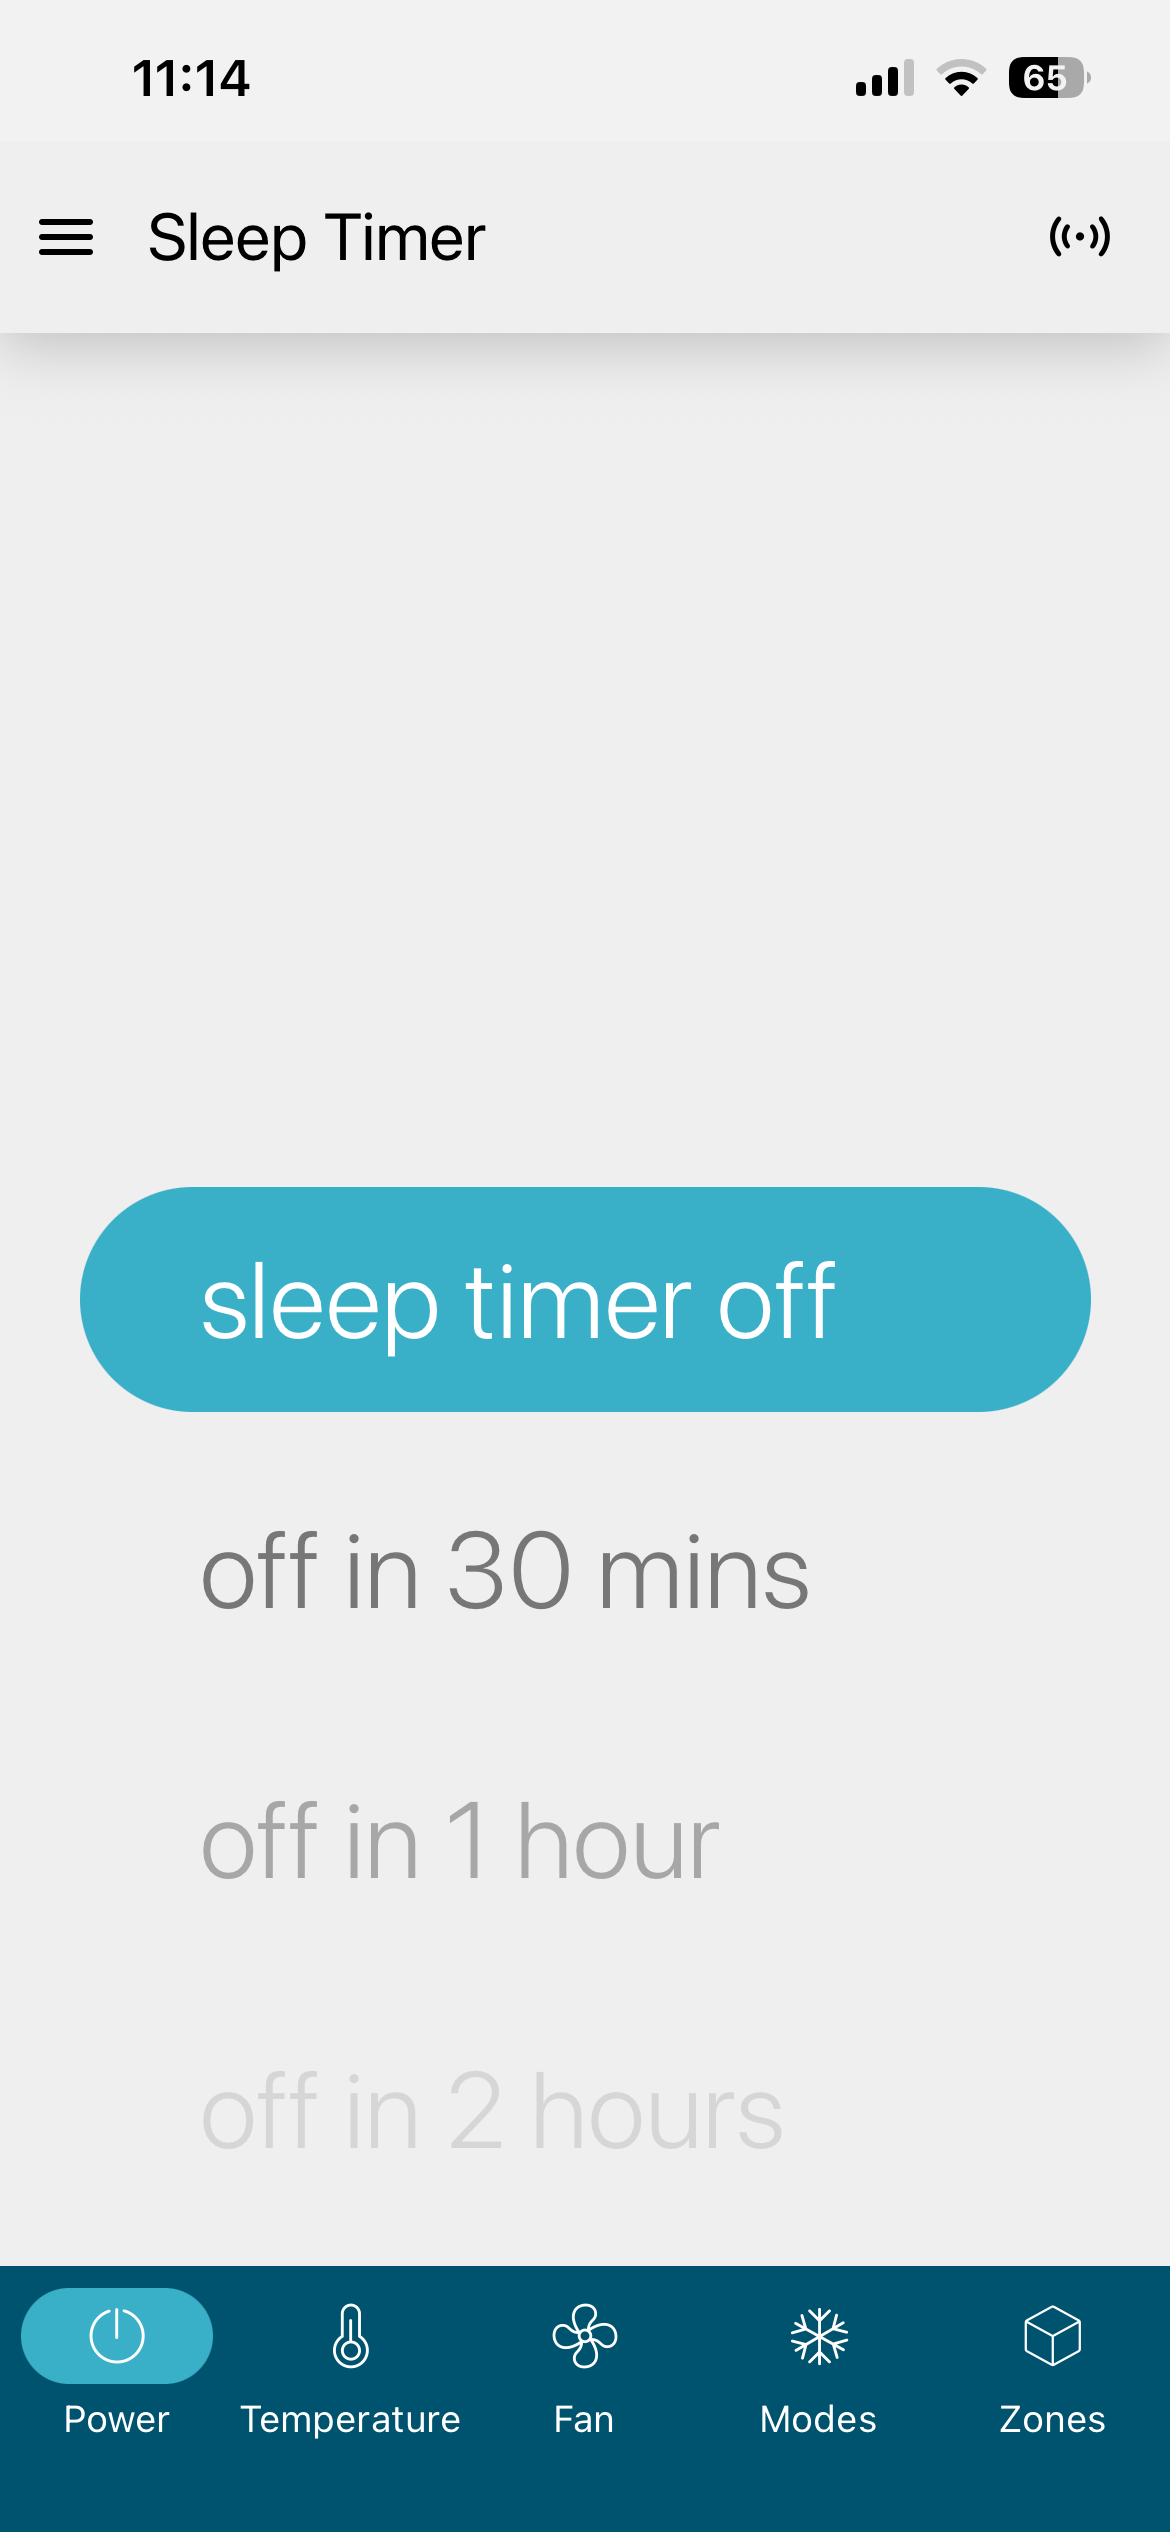
Sleep timer
To delay the time when an AC is turned off. When a timer is set, the AC system will continue to run for the selected duration and then switch off automatically.
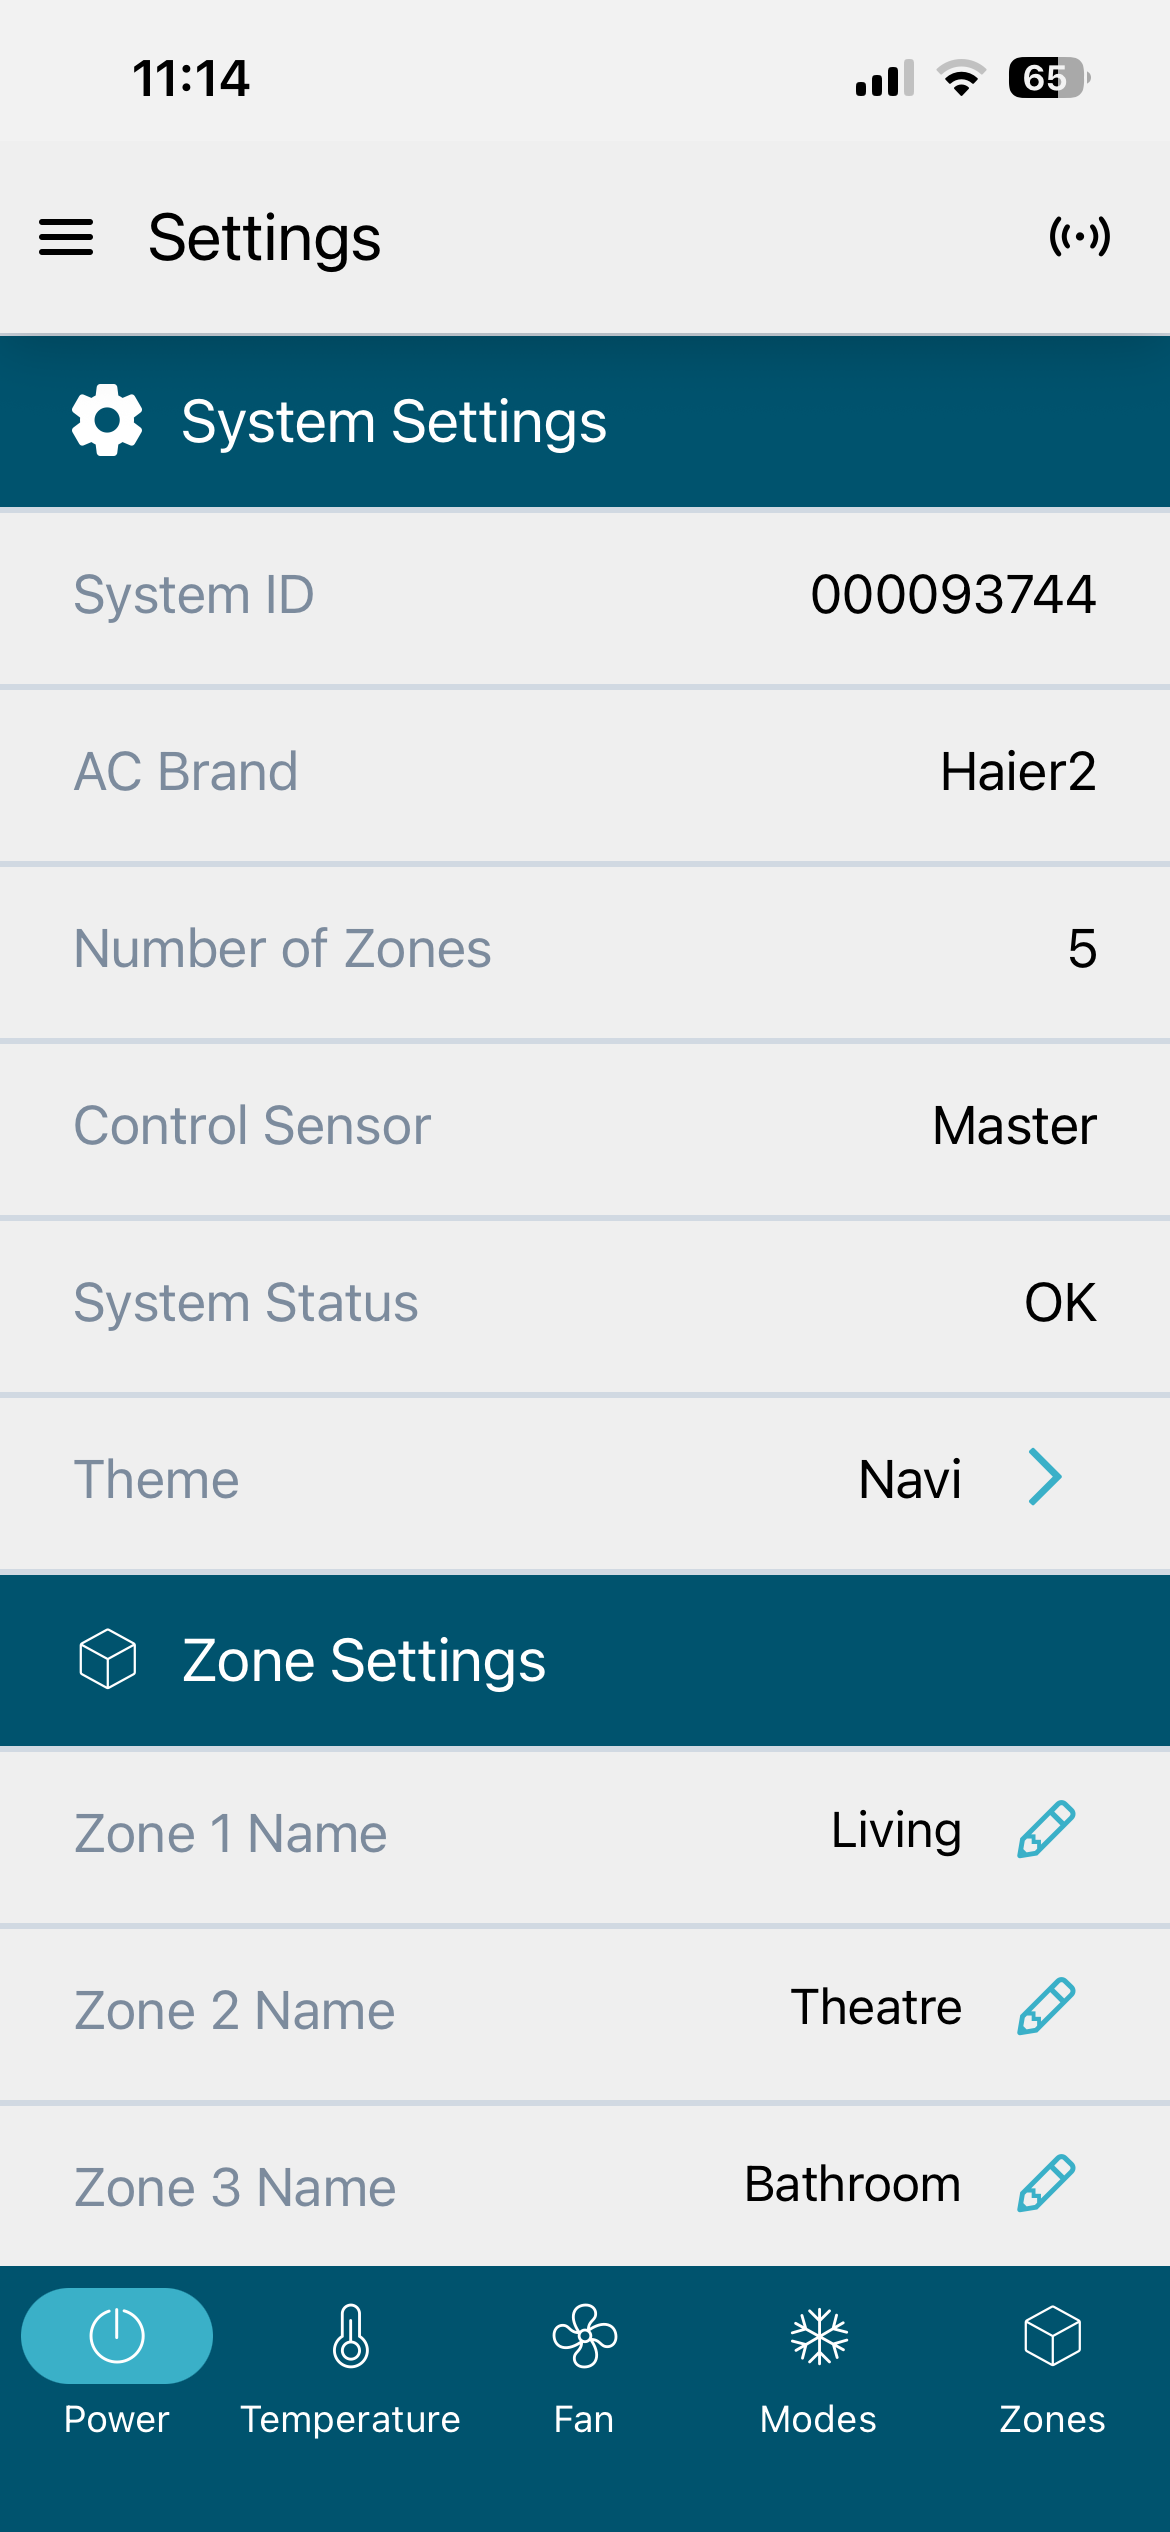
Settings
Most options shown here are read-only because they can only be adjusted by a licensed HVAC installer. Use this screen to rename zones with your own custom labels.
(2) Scrolling options
The scrolling options will change depending on the navigation bar selection made.
(3) System status
The value will normally represent the actual AC controlling temperature but will also show system error messages when applicable.
(4) AC On/Off
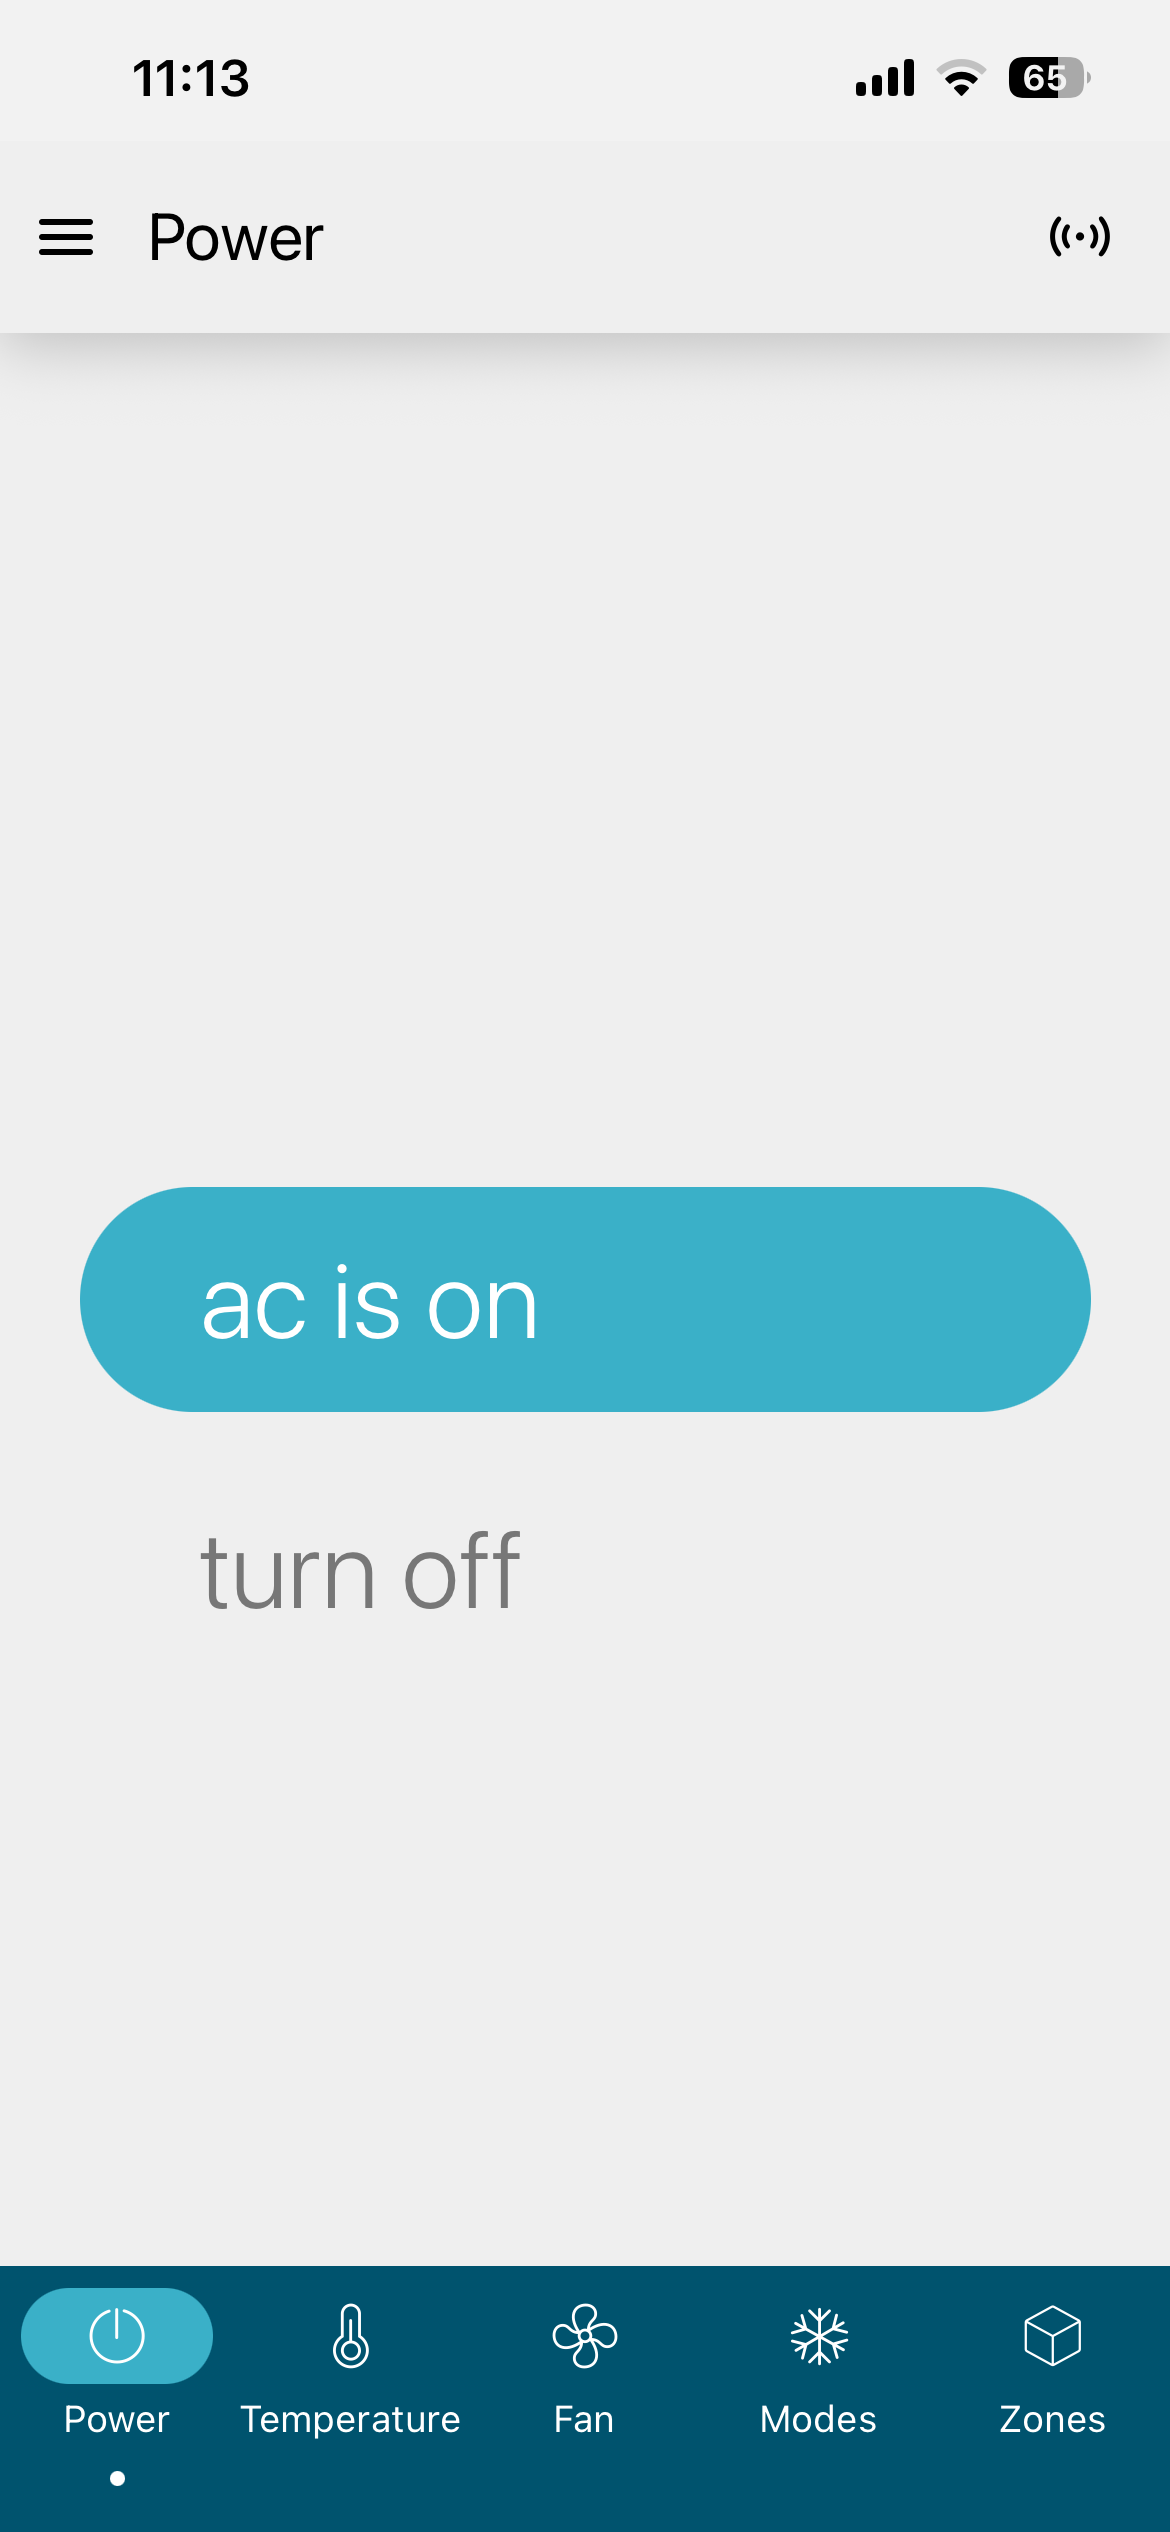
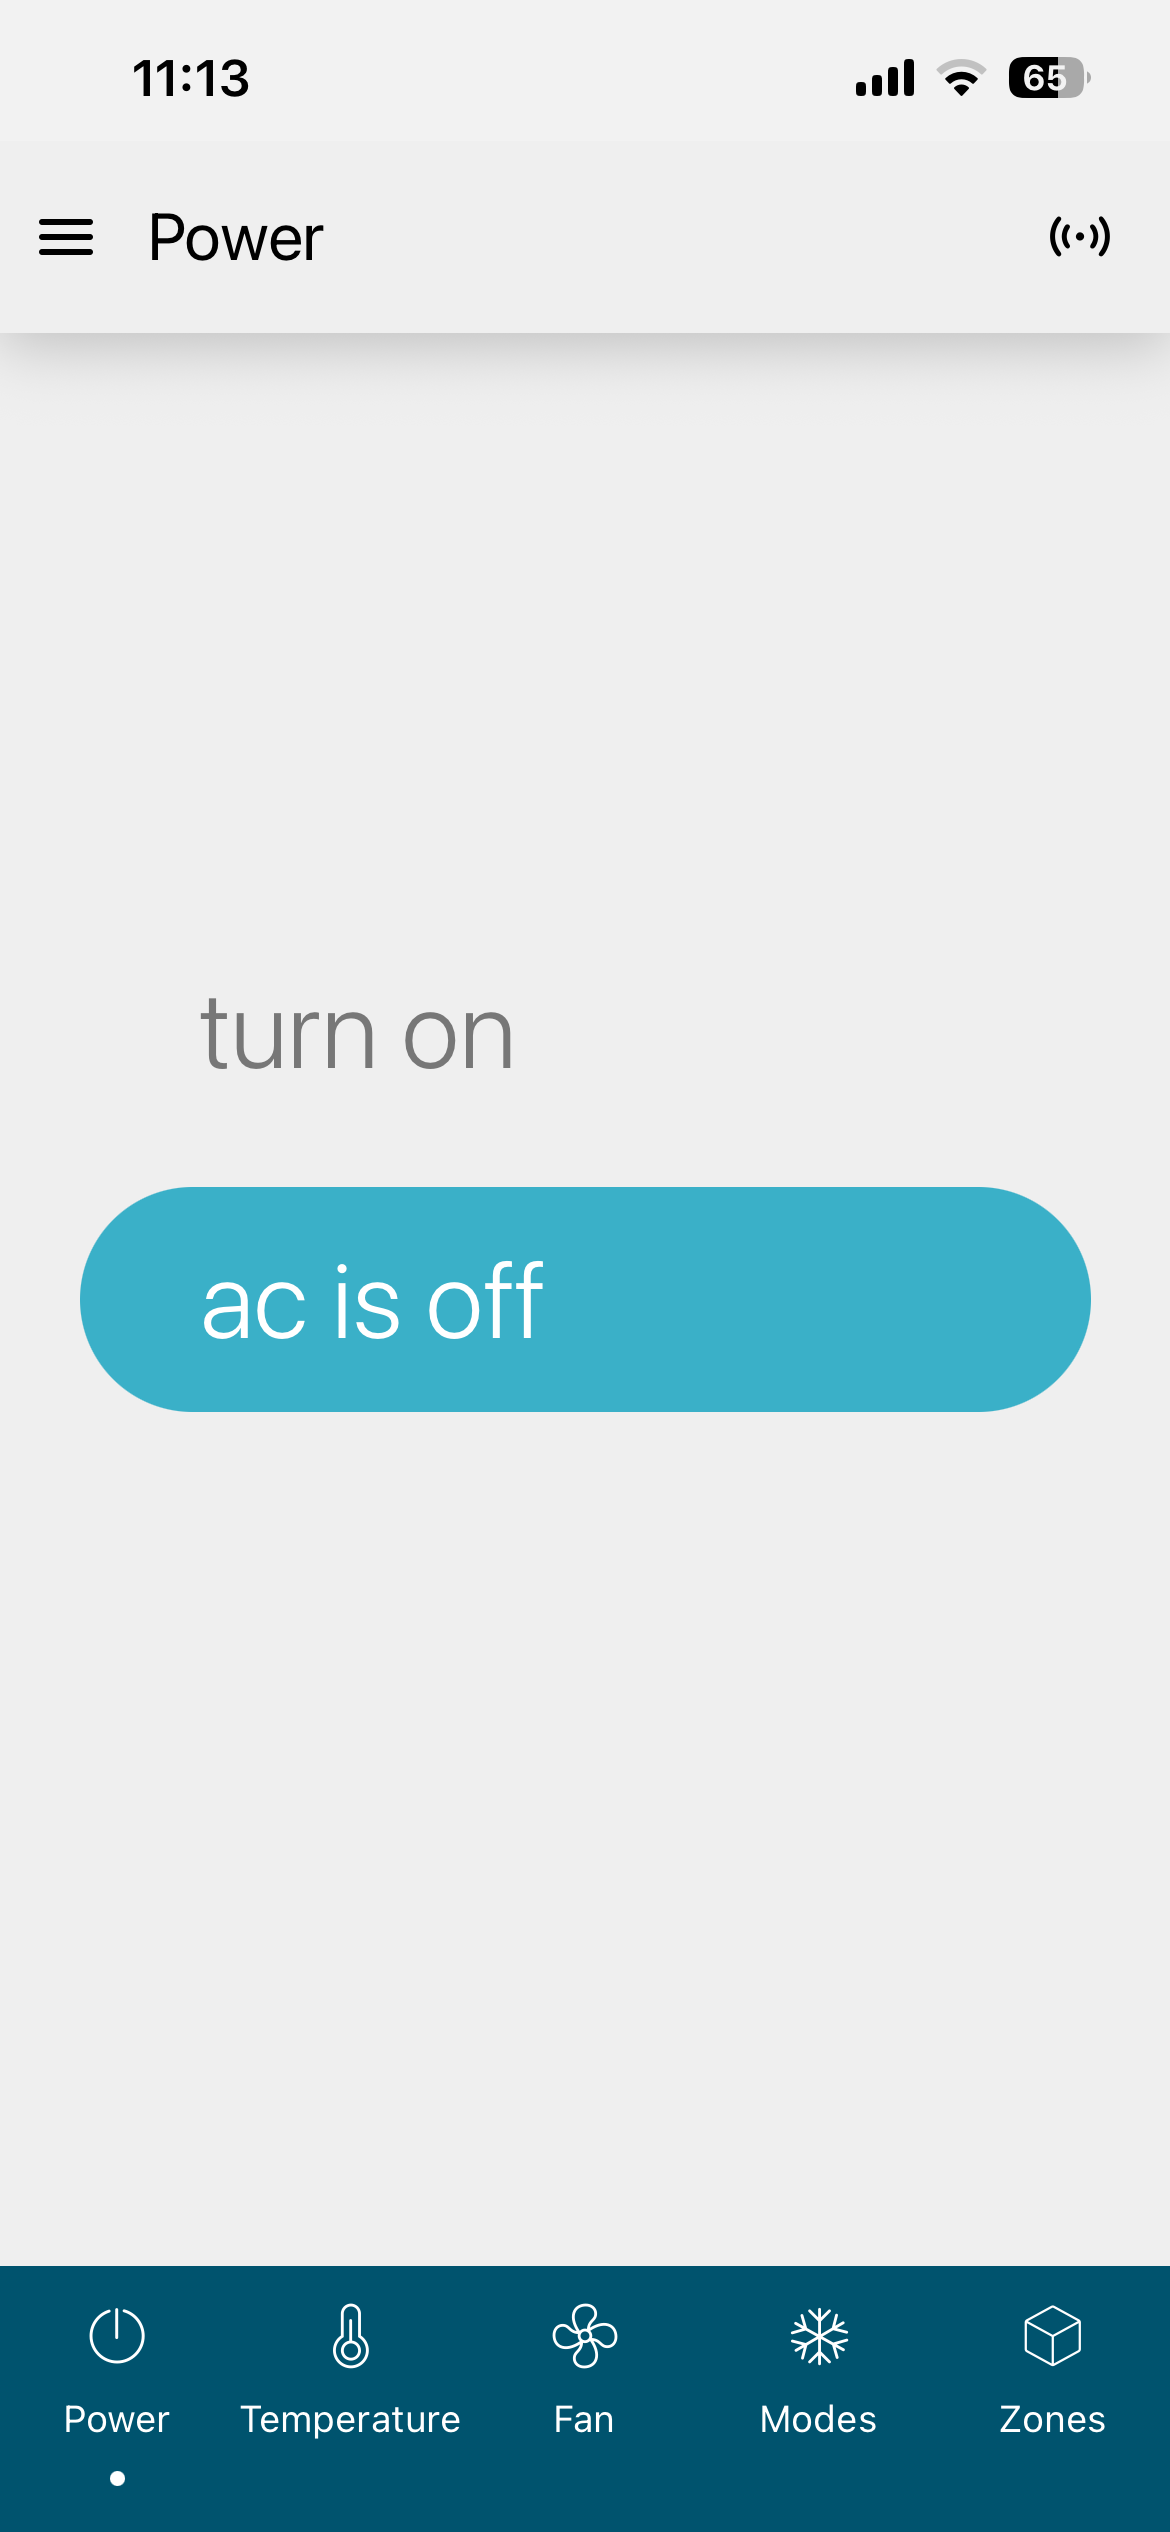
The AC unit can be turned on by selecting the Power navigation bar and tapping on turn on/off. When the system is running, the ac is on text will be highlighted. Please note that all AC units incorporate built-in timers and delays, so it may take several minutes after turning a unit on or off before any change becomes noticeable.
(5) Climate control page
The current controlling setpoint is displayed on this page. The layout and controls vary depending on what Sensor Type has been configured. Refer to the Navi User Guide for more information about this page.
(6) Fan speed
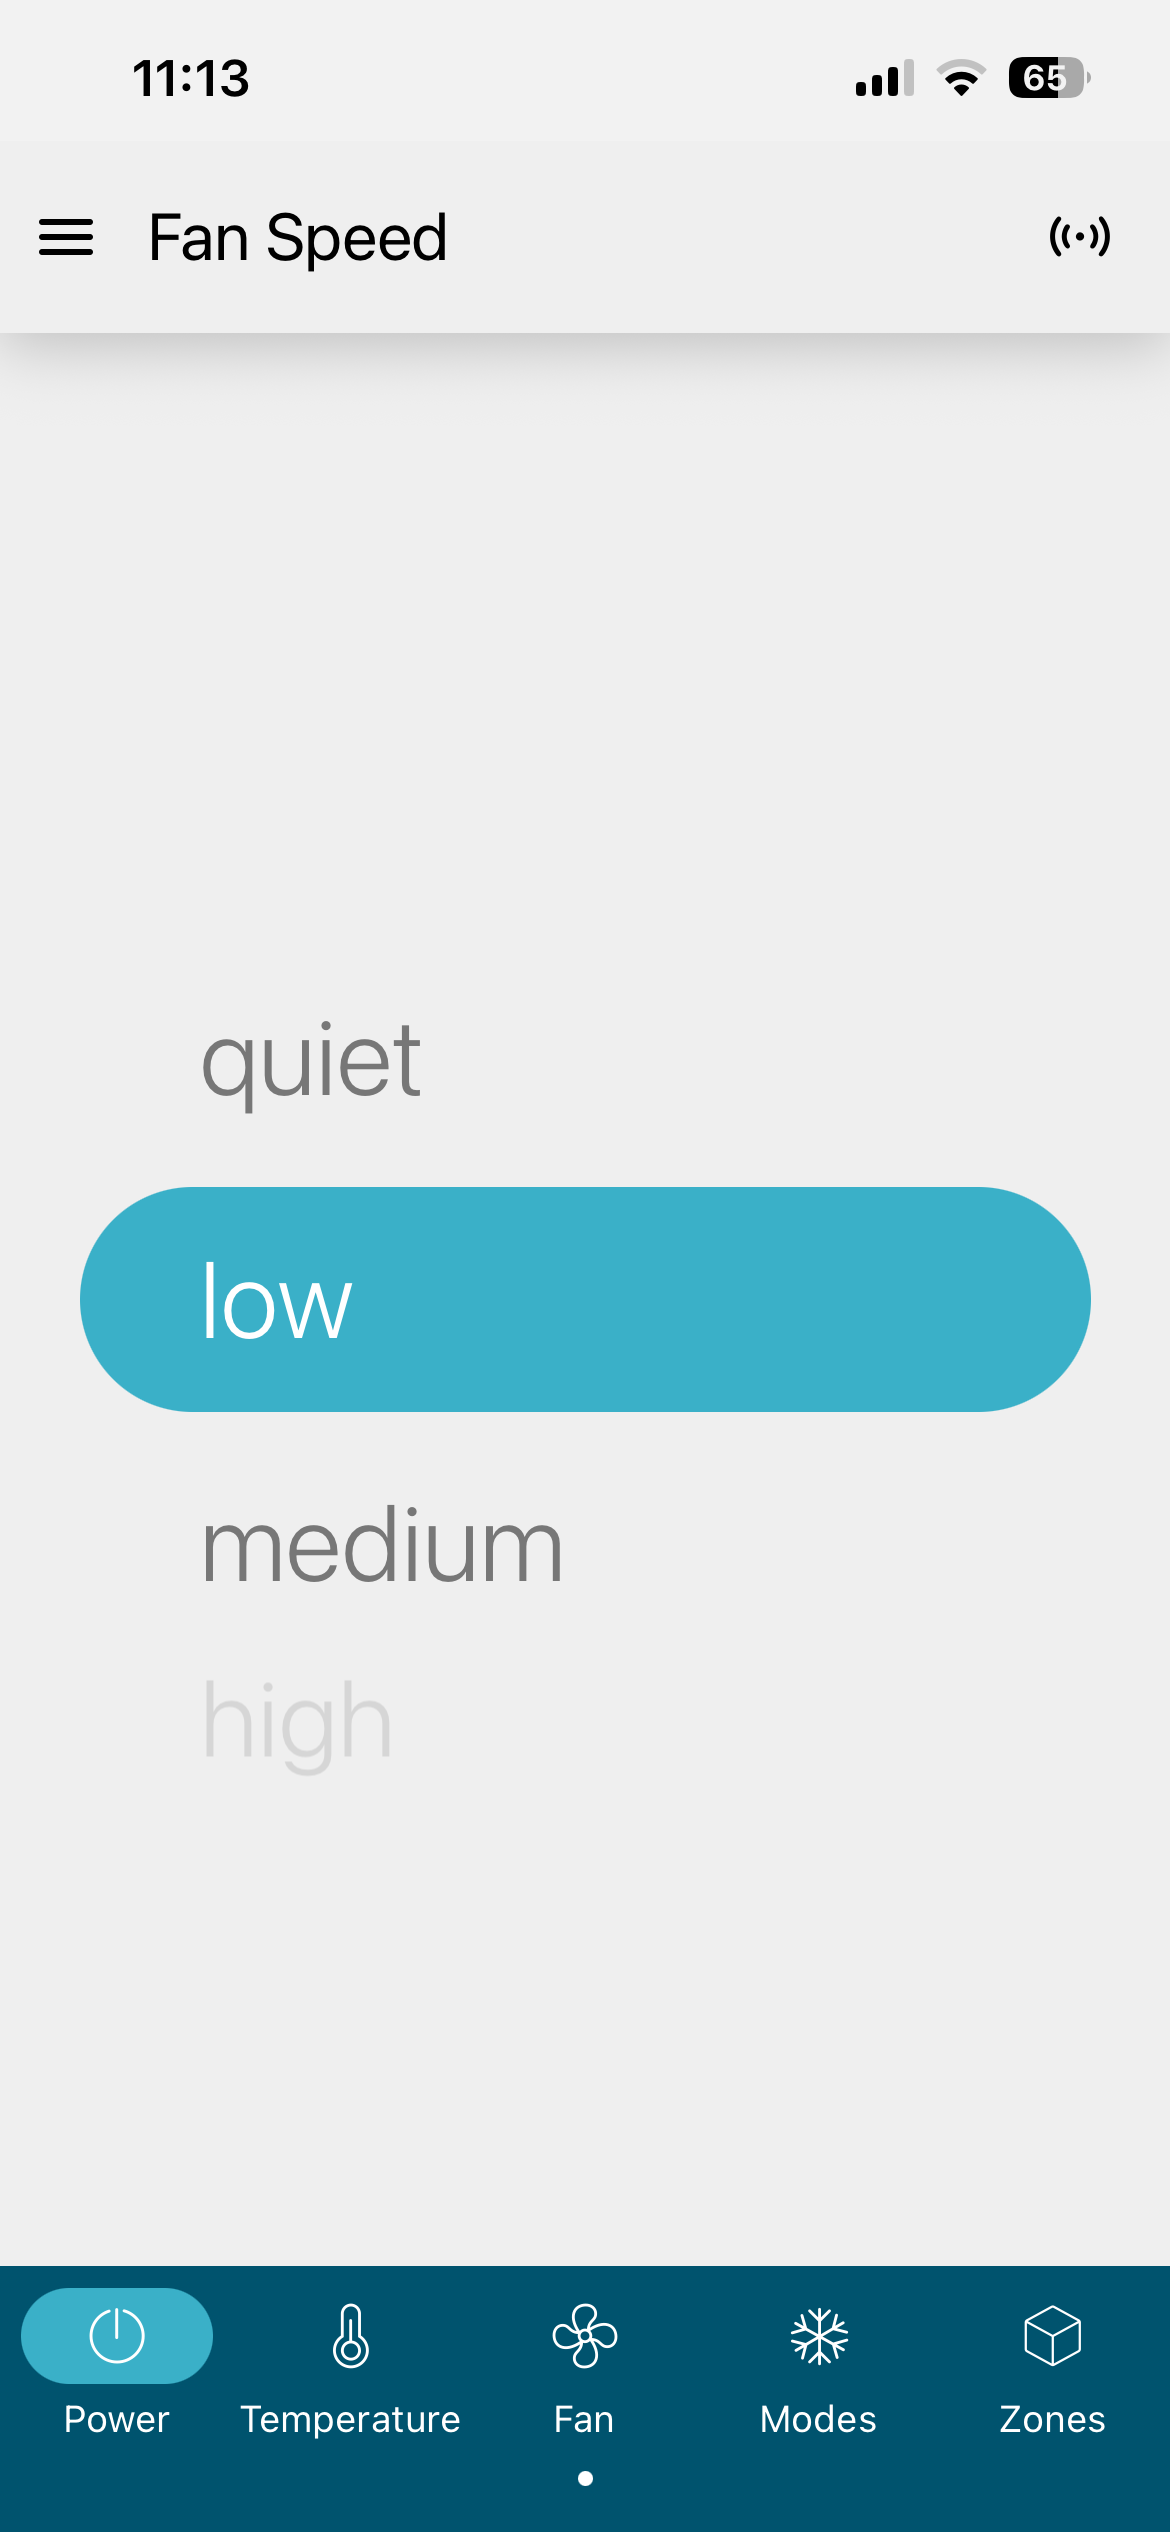
Adjust the AC Unit's fan speed. The fan speed options will change depending on the AC Unit brand.
(7) AC mode
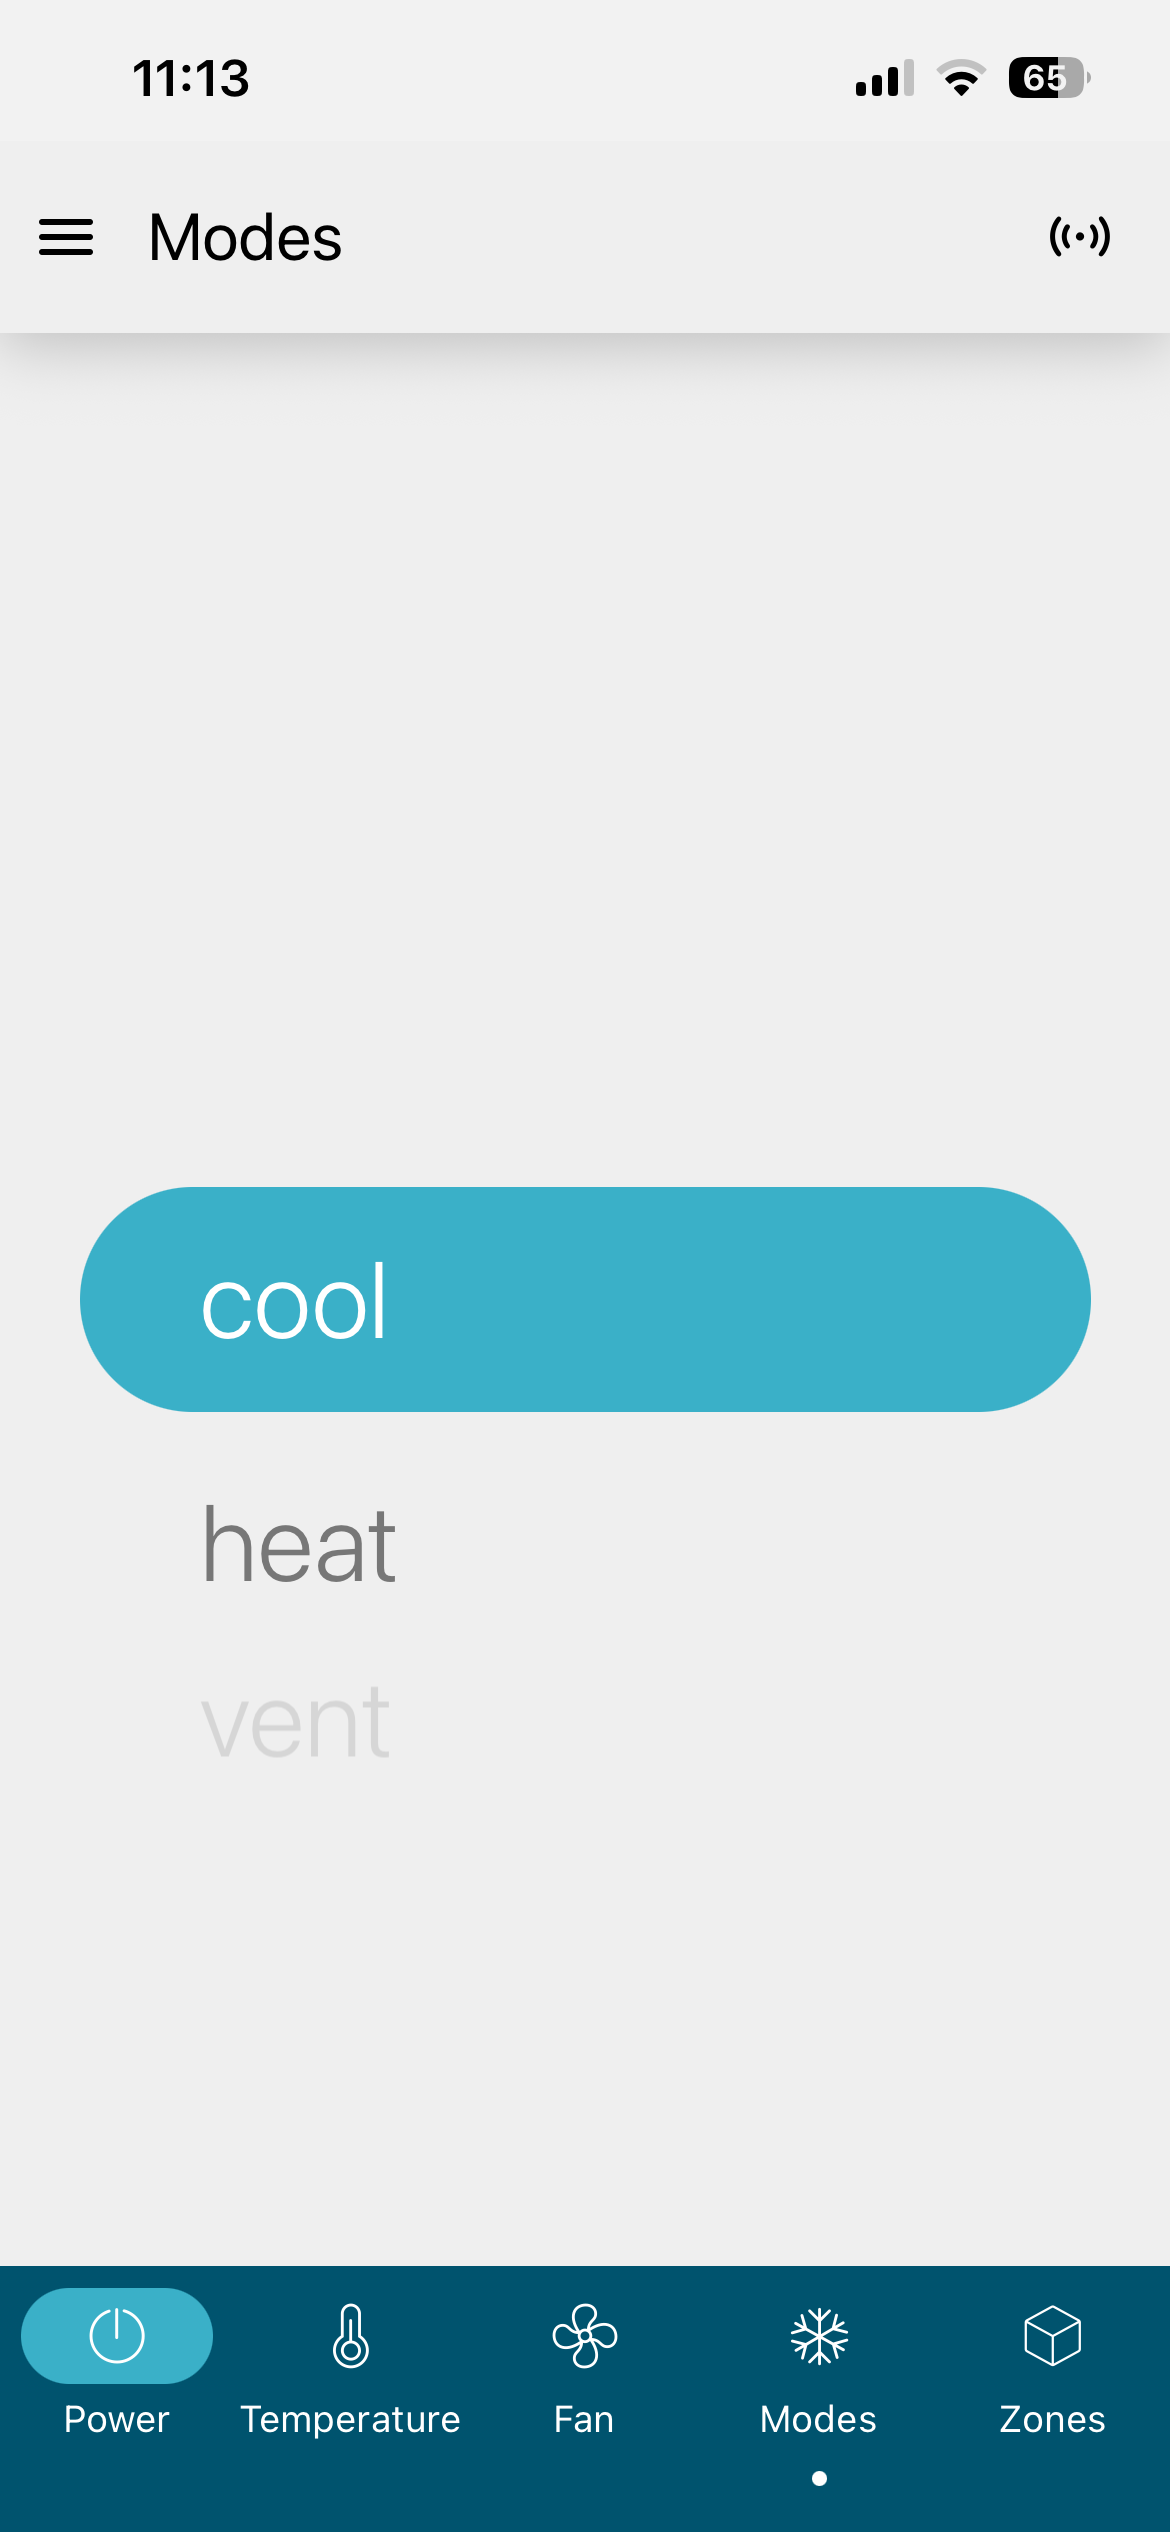
Press the Mode button to change from Cool > Heat > Dry > Vent > Auto mode. The colour of the screen will change between heating and cooling modes.
(8) Zone control
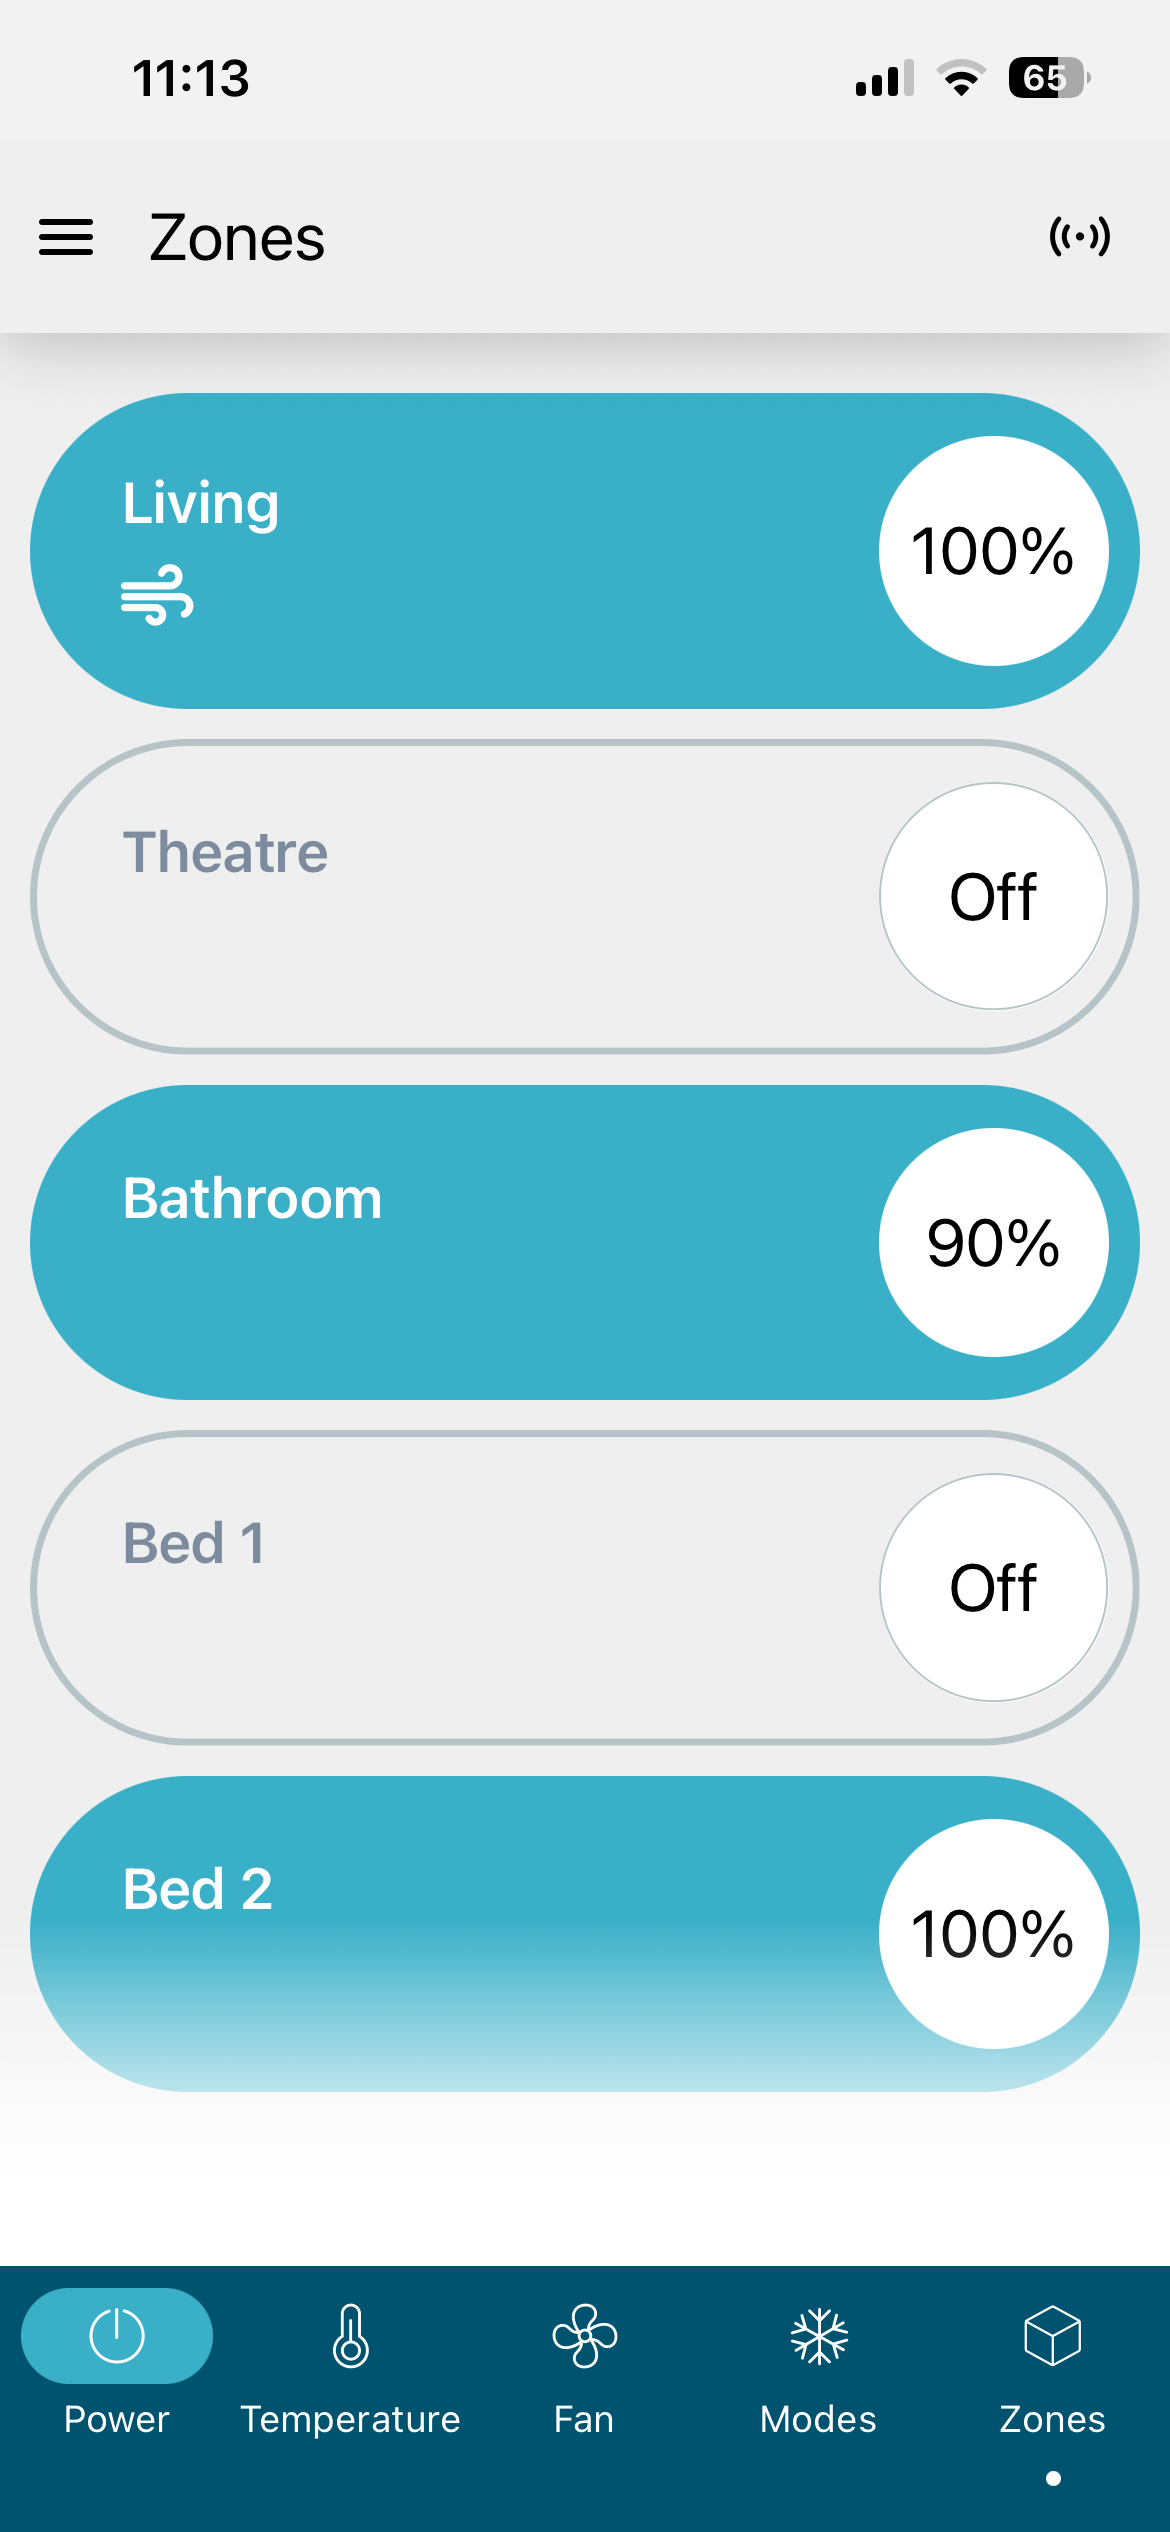
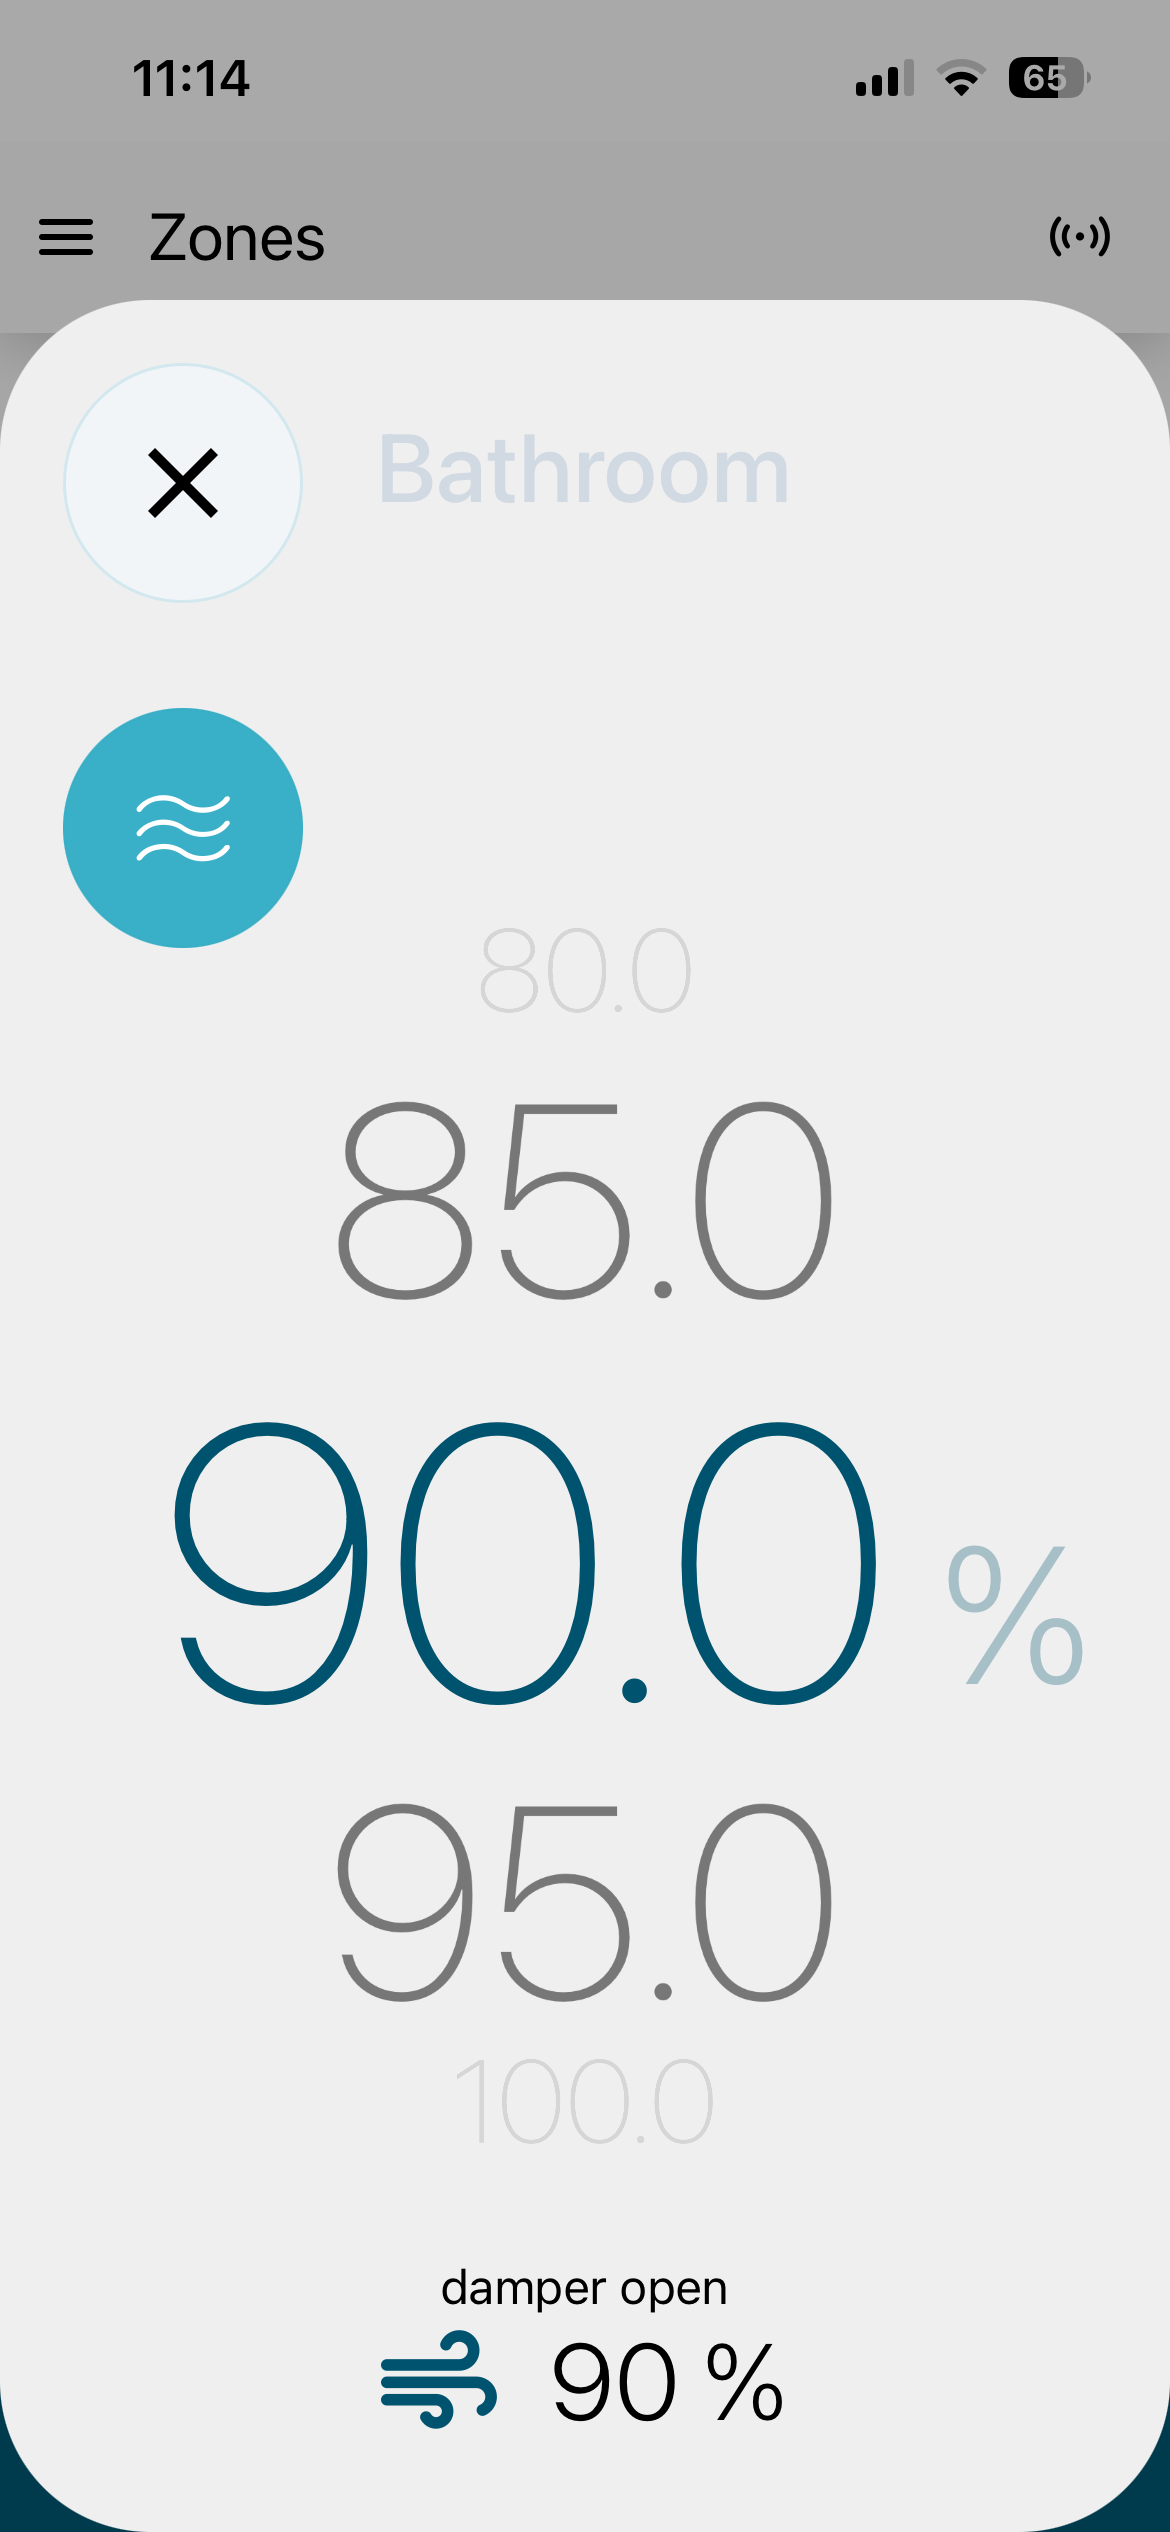
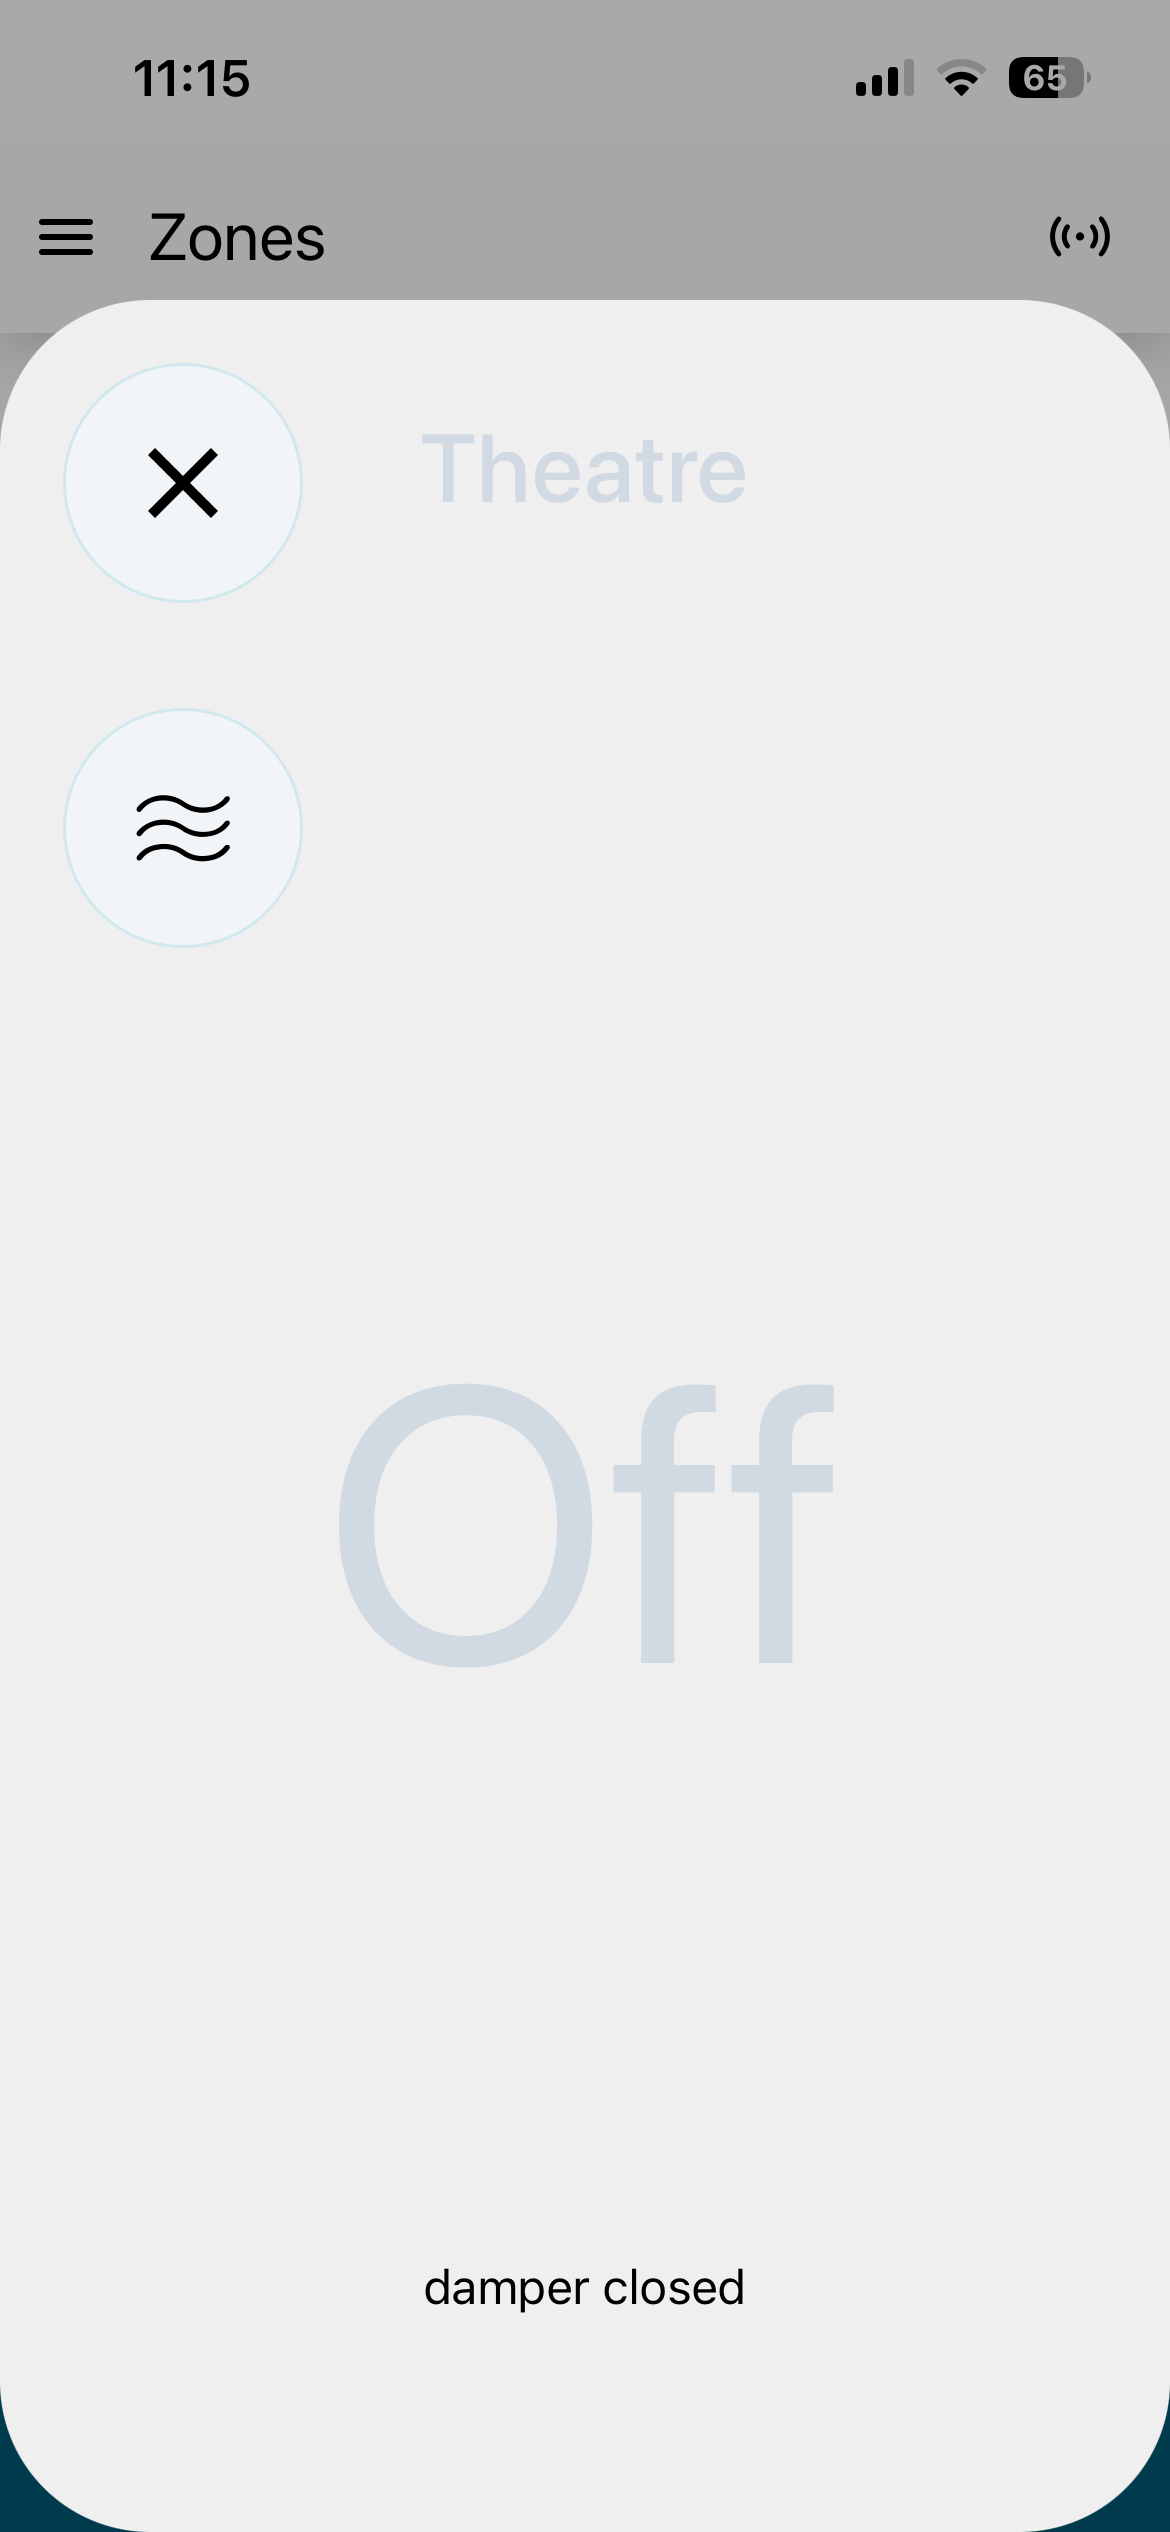
You can open or close zones by tapping the zone button. The button is highlighted when the zone is open (airflow is delivered through the vent) and not highlighted when the zone is closed. The percentage value inside the circle shows how far the vent is open — 100% when fully open and 0% when fully closed. You can adjust the airflow percentage by tapping on the circle within the zone button.
The Navi controller also allows you to adjust the required temperature for each zone. This feature is only available when the Sensor Type is set to Zones. The Navi wall controller is assigned to each zone as the zone temperature sensor. Read more...